
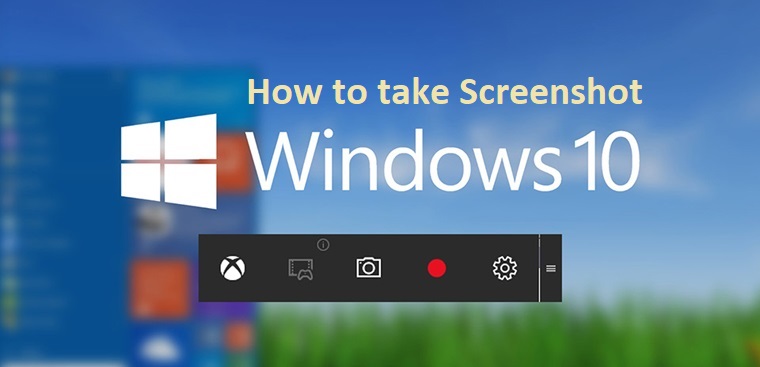
There are many ways to take screenshots that are very convenient and simple to manipulate on Windows 10 that you may not know. The following article will show you some easy ways to take screenshots on Windows 10.
1. Use the Snipping Tool
Capturing screenshots on Windows 10 using the Snip Tool is a convenient and versatile process. The Snip Tool provides a user-friendly interface with various Snipping options to choose from. Whether you prefer a Free-form Snip, Rectangular Snip, Window Snip, or Full-screen Snip, the tool offers flexibility in capturing specific areas of the screen. Once you’ve selected the desired snipping mode, the screen freezes, allowing you to easily outline the desired region using your mouse. Once captured, the screenshot is displayed within the Snip Tool window, giving you the opportunity to make any necessary edits or annotations.

Steps to take screenshots Windows 10 with the Snipping Tool
- Open the Snipping Tool by clicking on the “Start” button (Windows logo) located at the bottom left corner of your screen. Type “Snipping Tool” in the search bar, and then click on the “Snipping Tool” app in the search results.
- Once the Snipping Tool is open, you’ll see a small window with different Snipping options.
- Click on the “New” button in the Snipping Tool window to initiate the screenshot process.
- Choose the type of snip you want: Free-form Snip, Rectangular Snip, Window Snip, or Full-screen Snip. Select the option that best suits your needs.
- After selecting the snipping type, the screen will freeze, allowing you to use your mouse to draw a boundary around the area you want to capture.
- Release the mouse button to capture the snip. The snip will then open in the Snipping Tool window.
- To save the screenshot, click on the “File” menu in the Snipping Tool window, and select “Save As”. Choose a location on your computer to save the snip, provide a name for the file, and select the desired file format (such as PNG or JPEG). Click on the “Save” button to save the screenshot.
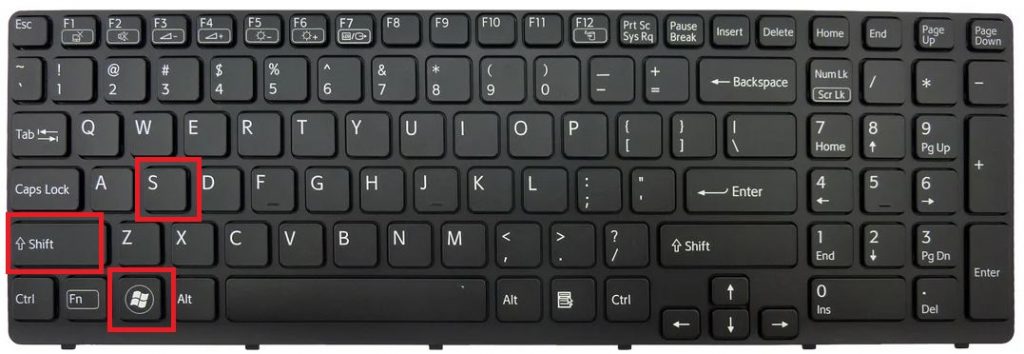
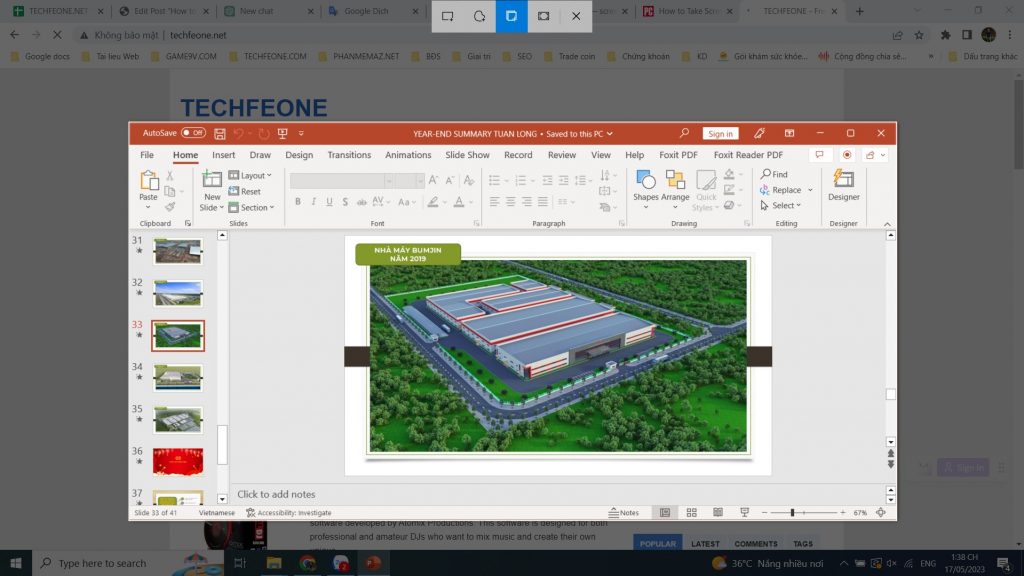
2. Use the Snip & Sketch (Windows Key + Shift + S)
Snip & Sketch is a built-in screenshot tool introduced in Windows 10. It provides an intuitive and efficient way to capture, annotate, and share screenshots. With Snip & Sketch, you can easily capture specific areas, entire windows, or the entire screen. The tool offers various snipping options, including Rectangular Snip, Freeform Snip, Window Snip, and Full-screen Snip, catering to different capture needs.
Steps to take screenshots of Windows 10 with Snip & Sketch
- Open Snip & Sketch using the Windows Key + Shift + S keyboard shortcut or by searching for “Snip & Sketch” in the Start menu.
- Once Snip & Sketch is open, a snipping bar will appear at the top of the screen.
- Choose the snipping type you want: Rectangular Snip, Freeform Snip, Window Snip, or Full-screen Snip.
- Use your mouse or touchscreen to capture the desired area based on the Snipping type you selected.
- Optional: If needed, you can annotate or edit the screenshot using the Snip & Sketch editor.
- Save or share the screenshot by clicking on the “Save” or “Share” button in the Snip & Sketch editor.
3. Use the Print Screen (PrtScn) Key With Clipboard
- Capture the entire screen and save it as a file:
Press the PrtScn or Windows + PrtScn (Print Screen) key on your keyboard. This captures the entire screen, and the screenshot is automatically saved to your clipboard. To save the screenshot as a file, open an image editing software (such as Paint or Paint 3D), create a new image, and press Ctrl + V to paste the screenshot. Then, save the file in your preferred format.
- Capture the active window and save it as a file:
Make sure the window you want to capture is active (in focus). Press Alt + PrtScn on your keyboard. This captures only the active window, and the screenshot is saved to your clipboard. Open an image editing software (such as Paint), create a new image, and press Ctrl + V to paste the screenshot. Save the file in your desired format.
Note:
The screenshot is automatically captured and saved as an image file in your computer’s default “Screenshots” folder. The folder is usually located within the “Pictures” directory. You can access the “Screenshots” folder by going to File Explorer, opening the “Pictures” folder, and locating the “Screenshots” subfolder.
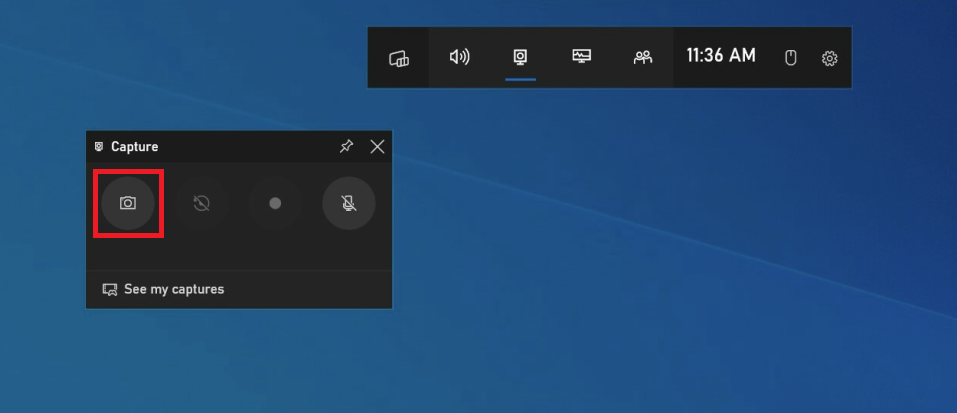
4. Take screenshots on Windows 10 using the Windows Game Bar
- Open the screen or window you want to capture.
- Press the Windows key + G on your keyboard. This opens the Windows Game Bar.
- In the Game Bar overlay, you should see a “Capture” button (camera icon) on the toolbar. Click on it or press the “Capture” shortcut key, which is usually Windows key + Alt + PrtScn.
- The screenshot is instantly captured and saved to your computer. By default, the screenshots are saved in the “Videos” folder under a subfolder called “Captures”.
- To access the captured screenshot, open File Explorer, go to the “Videos” folder, and navigate to the “Captures” subfolder.
5. Take screenshots on Windows 10 with Lightshot
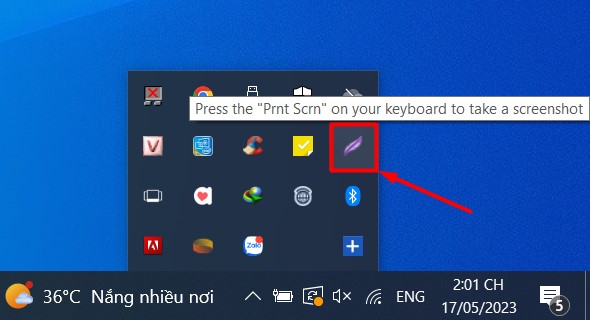
Lightshot is a popular screenshot tool available for Windows, Mac, and as a browser extension. It allows users to quickly capture and share screenshots with ease. Lightshot offers various features, including capturing specific areas of the screen, full-screen captures, and the ability to capture screenshots of specific windows or browser tabs. Once a screenshot is taken, Lightshot provides an intuitive editor that enables users to annotate and edit the captured image by adding text, arrows, shapes, highlights, and more. Additionally, Lightshot allows for easy sharing of screenshots through social media platforms or by generating links. Its user-friendly interface and versatile features make Lightshot a convenient choice for capturing and sharing screenshots.

Download Lightshot: Here
Steps to take a screenshot of Windows 10 using Lightshot
- Launch Lightshot: Once installed, open Lightshot either from the desktop shortcut or by searching for “Lightshot” in the Start menu.
- Select the area to capture: After launching Lightshot, your screen will be dimmed, and a crosshair cursor will appear. Click and drag to select the specific area of the screen that you want to capture.
- Capture the screenshot: Once you’ve selected the desired area, release the mouse button. The captured screenshot will open in the Lightshot editor.
- Edit and annotate (optional): Lightshot provides various editing tools, such as adding text, arrows, shapes, and highlights, to enhance your screenshot. You can use these tools to annotate or make adjustments to the captured image.
- Save or share the screenshot: After editing, click on the save icon to save the screenshot to your computer. Lightshot also provides options to directly share the screenshot via social media platforms or generate a link for easy sharing.

Above we have listed the simplest and most popular ways to take screenshots in Windows 10. Hope it helps you!